Introduction
Wooden coasters are a great addition to any home, and they are also a fun DIY project to take on. In this article, we will guide you through the process of creating your own wooden coasters from start to finish.
Step by Step
Follow these steps to make your own wooden coasters:
- Cut wooden slices to desired size
- Sand wooden slices to smooth out any rough edges
- Paint or stain wooden slices (optional)
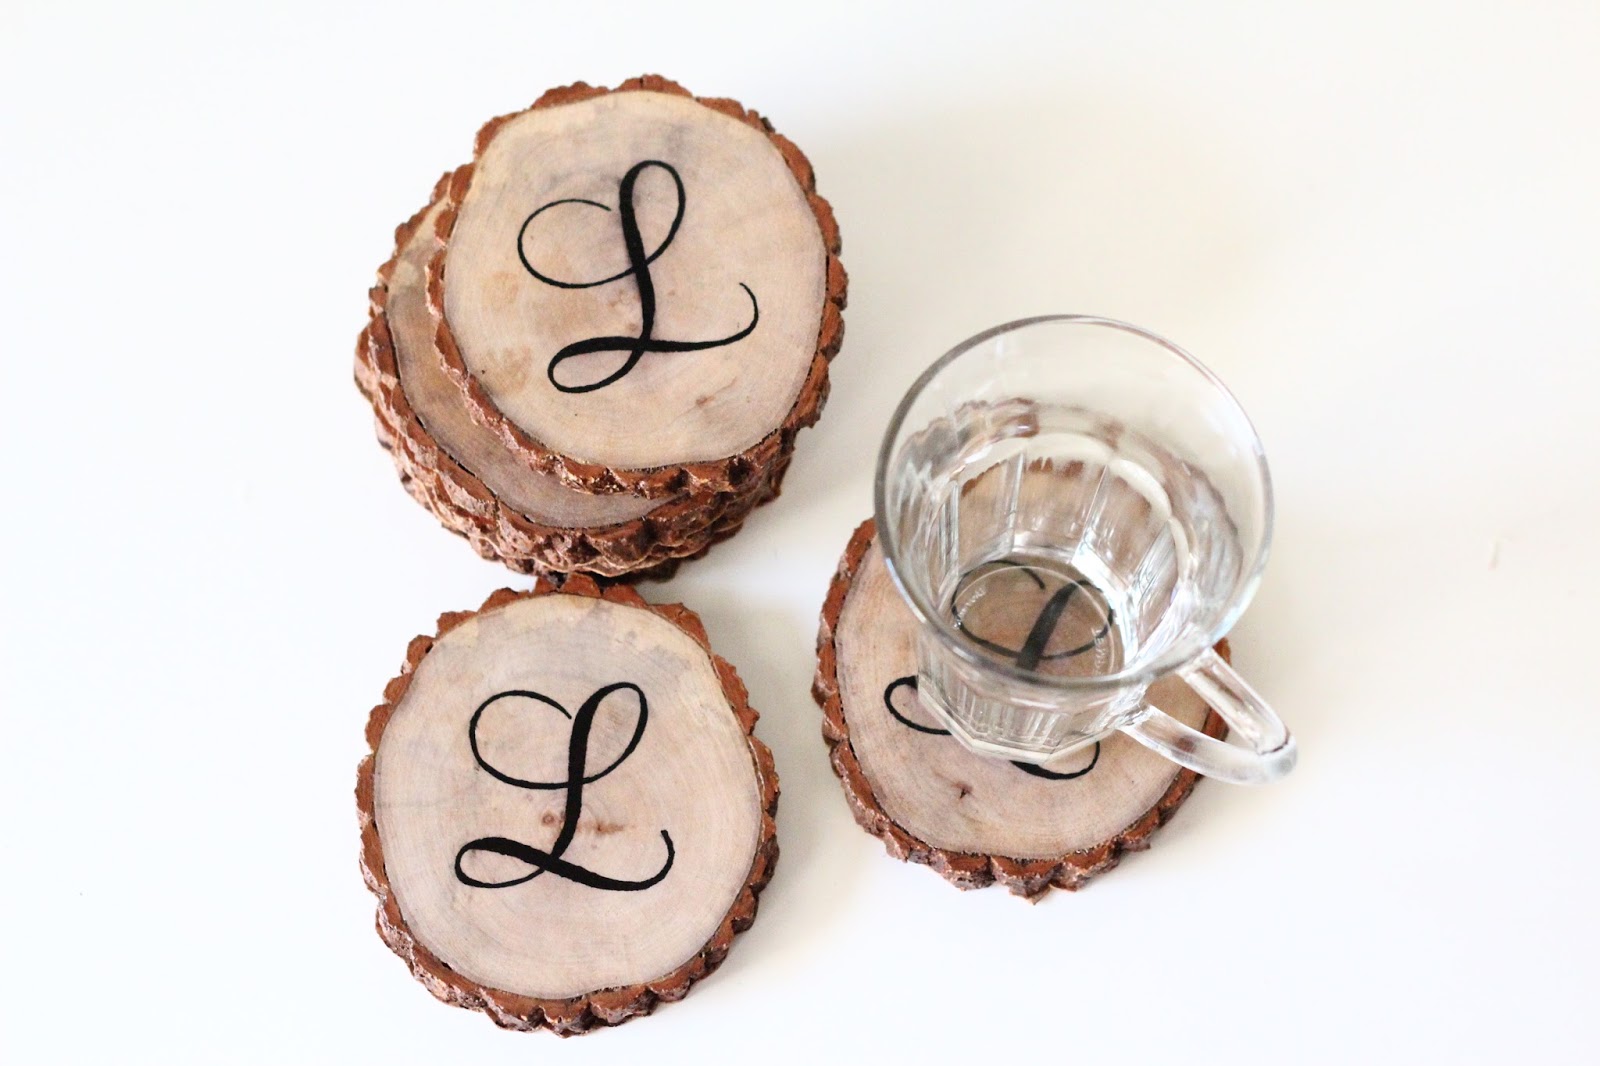
- Add desired design or monogram using a wood burning tool or paint
- Apply a coat of sealant to protect the wood
Detailing
The beauty of making your own wooden coasters is that you can customize them to your liking. You can add designs, monograms, or even paint them a certain color. The possibilities are endless.
Plan
Before you begin your project, it's important to plan out what you want your coasters to look like. Decide on the size and shape of the wooden slices, as well as any designs or monograms you want to add.
Tools
Here are the tools you will need to make your own wooden coasters:
- Wooden slices
- Sandpaper
- Paint or stain (optional)
- Wood burning tool or paint
- Sealant
Summary
Making your own wooden coasters is a simple and fun project that can add a personal touch to your home. By following the steps outlined above, you can create your own customized coasters in no time.
Images